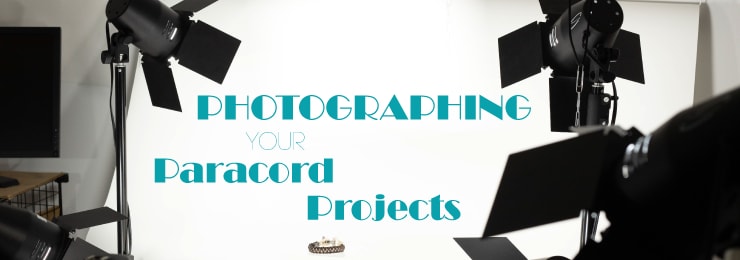
Tips For Photographing Your Paracord Projects
No matter if you are a paracord business owner or a basement hobbyist, most of us have something in common: We like to take pictures of our handiwork.
While expensive equipment may improve the look of your photos, busting the bank isn't the first step to making your paracord pictures stand out. Many people today have a smartphone that can snap high-quality photos if the user knows how to take advantage of some hidden features. We'll highlight some of our equipment towards the end of this article, but we're going to start out with something you can work on right now: technique.
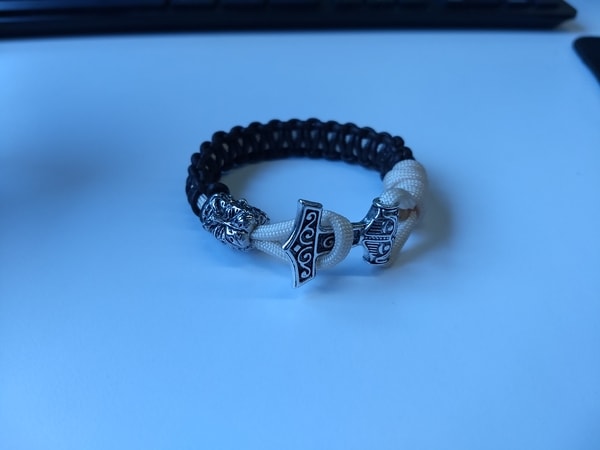
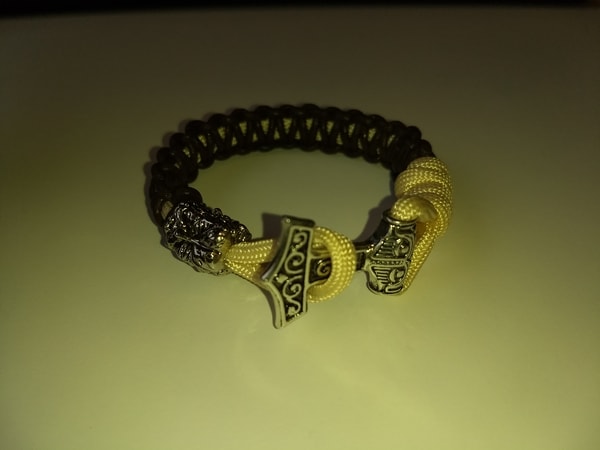
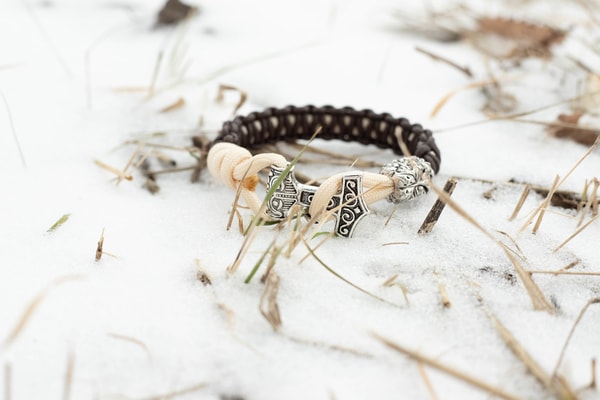
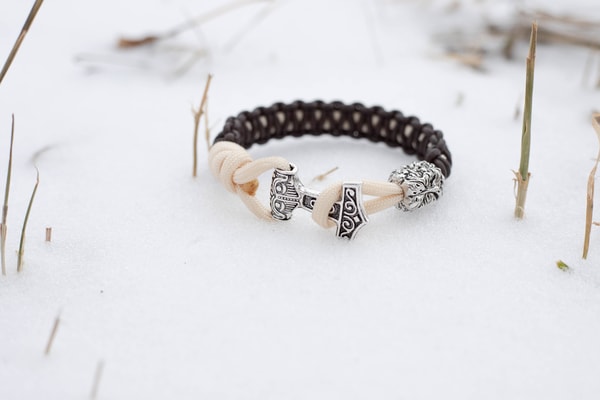
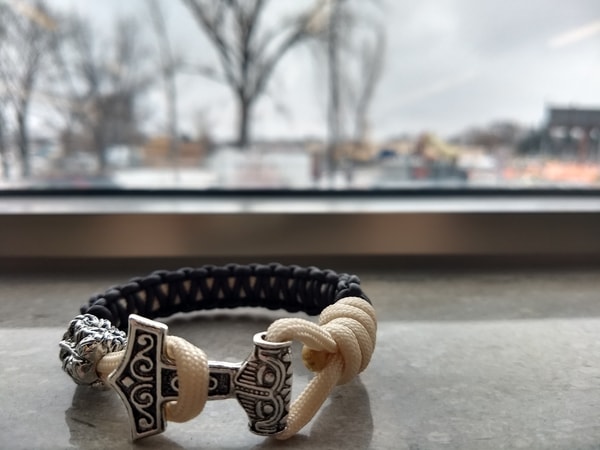
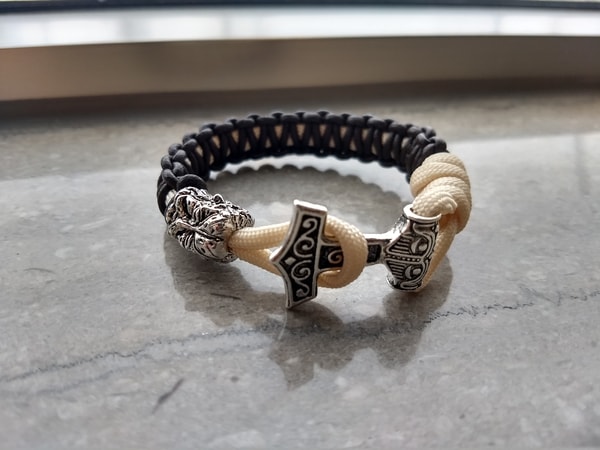
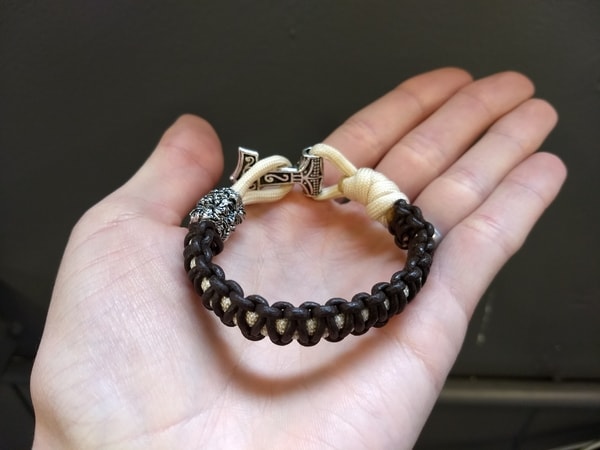
By the way, if you like the bracelet in the pictures, you can find out how to make it in our Viking Bracelet Tutorial on Youtube!
Common Issues
Why do my photos have a blue or orange tint?
To put it simply, phone cameras are often bad at automatically distinguishing what a pure white color is. Daylight is usually white light, while indoor incandescent bulbs are often tinted yellow and fluorescents are slightly blue. Your camera has to compensate for the color of the light to make your pictures look right. Outdoor pictures will have truer color without the need to fumble with white balance settings.
Why are my photos grainy or pixelated when I have a good camera?
Human eyes are excellent at adjusting between light and dark settings. Cameras have a limited range. House interiors are dark to a camera—even if they do not appear dim to your eyes. That means the camera must strain to pull in more light, which lowers the quality of the image and gives it that grainy appearance.
Using the digital zoom (pinch zoom) on a phone camera will also drastically reduce image quality.
Why are my photos blurry?
A couple of different factors can contribute to photo blurriness:
- Are you holding the camera steady? A tripod may be a worthwhile investment.
- Is your subject moving? This has a similar effect to a shaky cameraman. Even very small movement (like when trying to hold something still in your hand) can have a big impact on how clear a photo turns out.
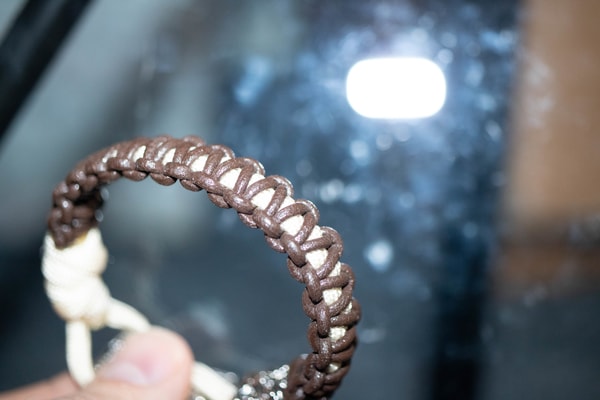
- Are you too close to your subject? Phone cameras do not have good zoom, and many people over-compensate by moving extremely close to their subject. Many entry level cameras are not designed for macro (close-up) photography. If you are closer than 6 inches, you likely need to take a step back. If you have a camera with more options, make sure you enable macro focusing mode.
- Are your pictures still blurry? Your camera may be focusing on the background instead of your subject. Try adjusting your camera's focusing "spot" or shoot your subject against a closer background.
Choosing a Background
If you haven't thought about your photo's background, you're going to want to read this section. Your choice in background can either make or break your picture. Especially if you are aiming for Instagram likes or Etsy Sales!
Contrast
The best pictures have a background that contrasts with the subject. Contrast is the amount of light or dark a certain color has. Medium red does not contrast with medium blue. Baby pink, however, DOES contrast well with navy. If you want more tips on color, read How to Choose Awesome Paracord Color Combinations
In addition to color and contrast, here are some other do's and dont's of choosing Backgrounds
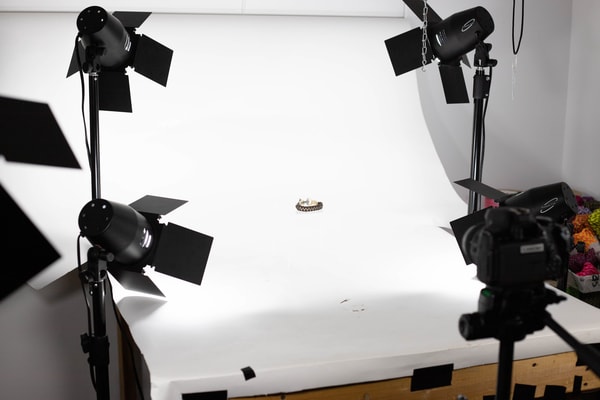
No Background
Many big businesses use what is called a "lightbox" to make their products appear as if they are floating on a white background. This eliminates distractions and creates a very clean look. This is a valid way to create professional-looking images, but it is not the only way or even necessarily the best way.
Creative Backgrounds
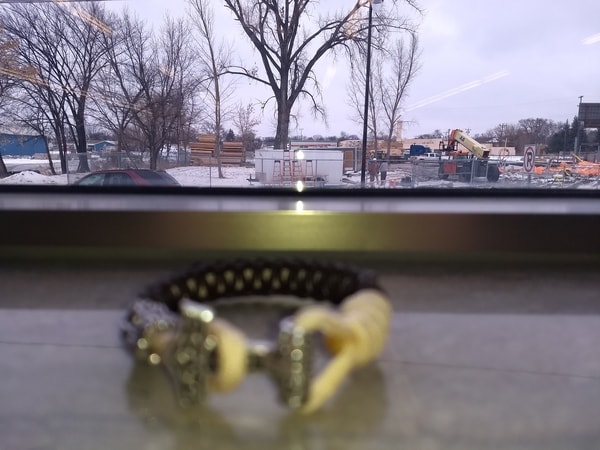
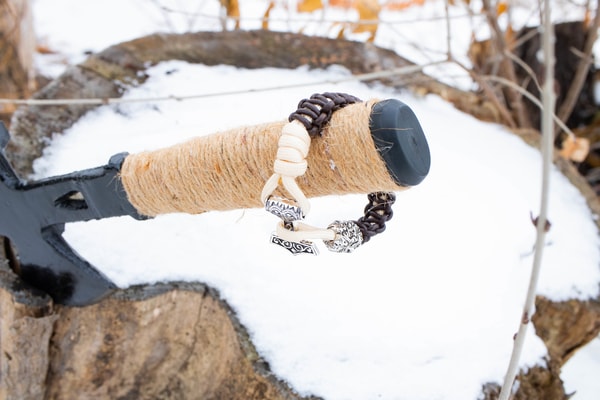
For most purposes, a contextual background is helpful. Choose background elements that complement the purpose of your paracord creation, or show it in use. Snap a photo of your paracord bracelet on your wrist or next to something like a wristwatch or pocketknife. Let your creativity shine!
Reflective Backgrounds
You've probably seen or taken pictures that are washed out because the camera flash reflected off a window or mirror. Try to avoid situations where the sun or other lights, such as a flash, reflect into the camera lens. This seems like an obvious no-no, but I will state it here nonetheless. (When used right, reflective backgrounds can look really good.)
Even better advice: Don't use the built-in flash. EVER. Instead, opt for good external light sources.
Creating a Composition
Lights
Natural, indirect light is perfect for taking well-lit pictures with true-to-life color. Indoor lighting can also work, but with camera phones and lower-end point-and-shoot cameras, indoor pictures often end up grainy and orange. (See above)
Harsh lights can create some amazing dramatic effects in artistic photography, but for the most part, diffuse lighting (no shadows) is ideal. The easiest way to get diffuse lighting is to shoot pictures outside on a bright, evenly cloudy day.
Orient yourself so that your light (or the sun) is over your shoulder and off to one side of your subject, but make sure you don't block the light. Keep in mind: a single, closer light produces harsher shadows, while multiple lights that are further away (from each other and the subject), will produce more even lighting.
Camera
Rule of Thirds
My advice here goes against most photography classes: For product or purely documentary photography, keep your subject as close to the middle of your pictures as you can. The rule of thirds produces very nicely composed, artistic shots, but when you are trying to show something small like a bracelet, a photo centered on a sunset in the background is a little distracting. If your photos are primarily about creative photography, use the rule of thirds. If the purpose of your photo is to show what you have made in a pleasing way, keep your subject near the middle.
It's not very fun to look at something straight-on. If most of your pictures look like the first image below, Try shooting at a 45° angle to your subject instead.

Action
All artistic "rules" are taught so that you can know how to break them well. If you know what you are doing and want to go against my advice, go for it! What are you doing reading this anyway? These guidelines are simply a good starting point if you are new to photography.
Our Equipment
- Canon 6D
- Canon 50mm lens
- Canon T6i
- Canon 35mm macro lens
- Moto G5+ (Phone Camera)
TLDR (Too Long, Didn't Read)
If you shoot pictures of your paracord outside on a cloudy day, about 1-2 ft. away from your subject at a 45° angle on a contrasting background, with light over one shoulder, you won't need fancy equipment to create quality photos.
Now it's time to go practice! Go take some pictures and then send them to us!
Do you have any questions we didn't answer? Ask them in the comments!