The Basics of Paracord
If you are new to Paracord, welcome! This versatile cord is easy to learn, fun to work with, and useful for everything from bracelets and keychains to gear wraps and outdoor projects. At Paracord Planet, we know getting started can feel a little overwhelming at first, especially when you are choosing cord types, learning new terms, and figuring out which tools you need.
This guide covers the basics so you can start crafting with confidence.
What is Paracord?
Paracord, short for parachute cord, is a lightweight braided cord that was originally used in parachute suspension lines.
Today, it is popular with crafters, outdoor enthusiasts, DIYers, and makers because it is strong, flexible, and available in a huge range of colors and sizes. Most traditional paracord is made from nylon, which gives it durability, a slight stretch, and the ability to be melted at the ends to help prevent fraying.
One of the most common varieties is 550 paracord, which gets its name from its approximate 550-pound tensile strength. That said, paracord is not a climbing rope or life-safety rope, so it should only be used for appropriate crafting and utility purposes.
Another thing beginners may not realize is that many types of paracord contain inner strands, often called cores. Standard 550 paracord usually contains 7 inner strands that can also be removed and used separately for smaller utility tasks or finer crafting details.
Paracord also comes in many materials beyond standard nylon. Some cords are made of polyester for better UV and water resistance, while others are specialty materials designed for outdoor, tactical, or decorative use. Different materials can slightly change how the cord feels, melts, stretches, and handles during crafting. Check out this page for a deeper dive on cord types.
What can I do with it?
People use Paracord for both practical and creative reasons!
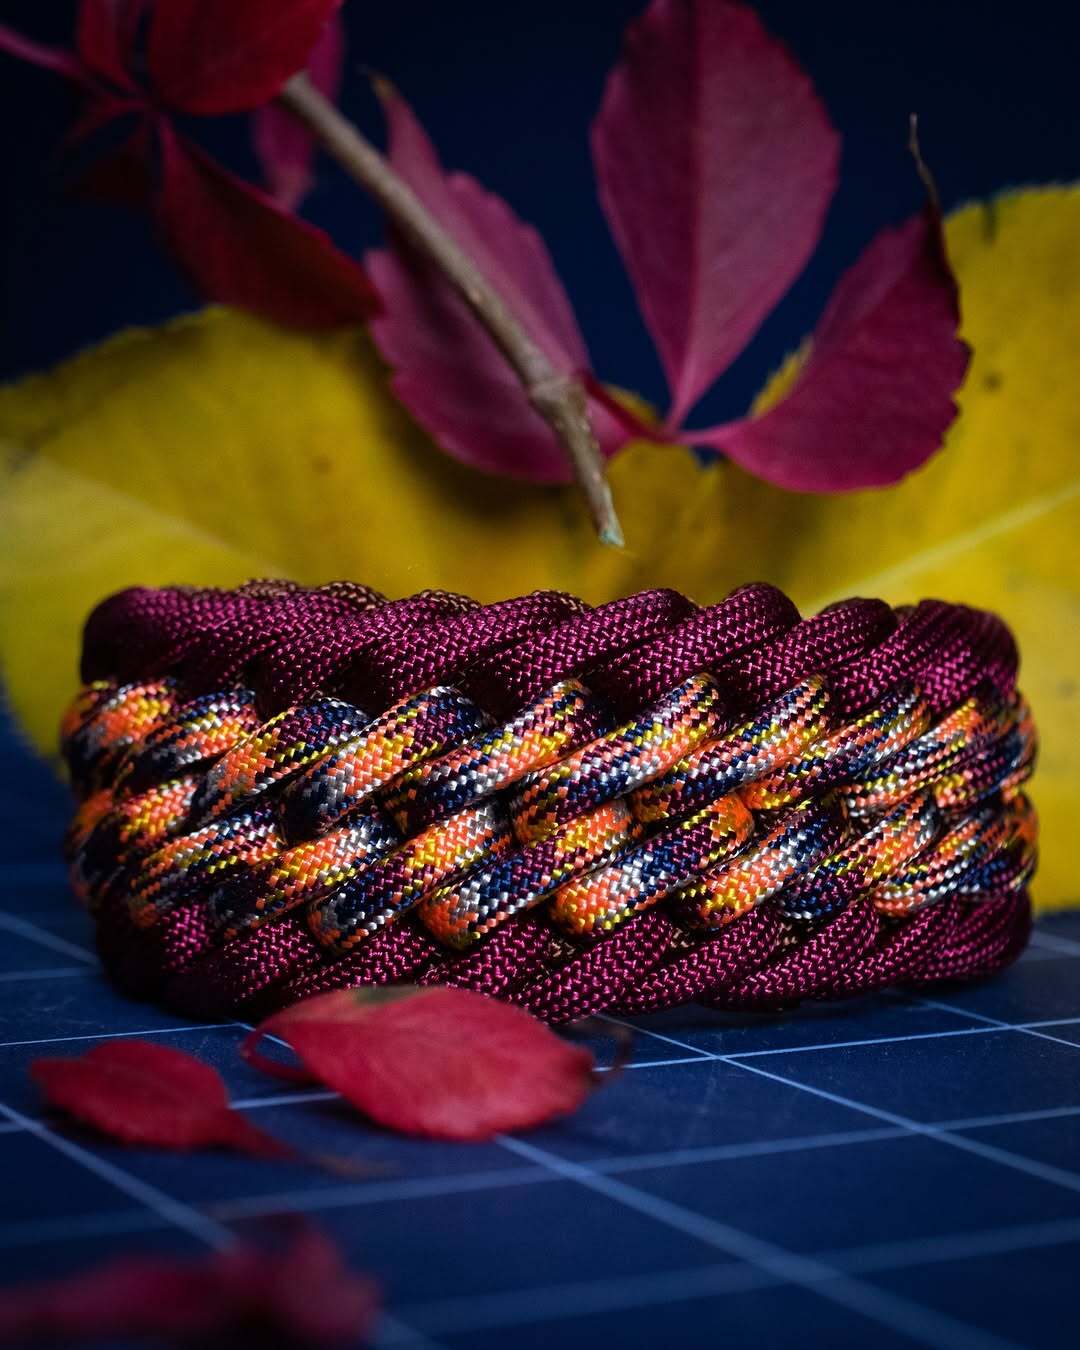
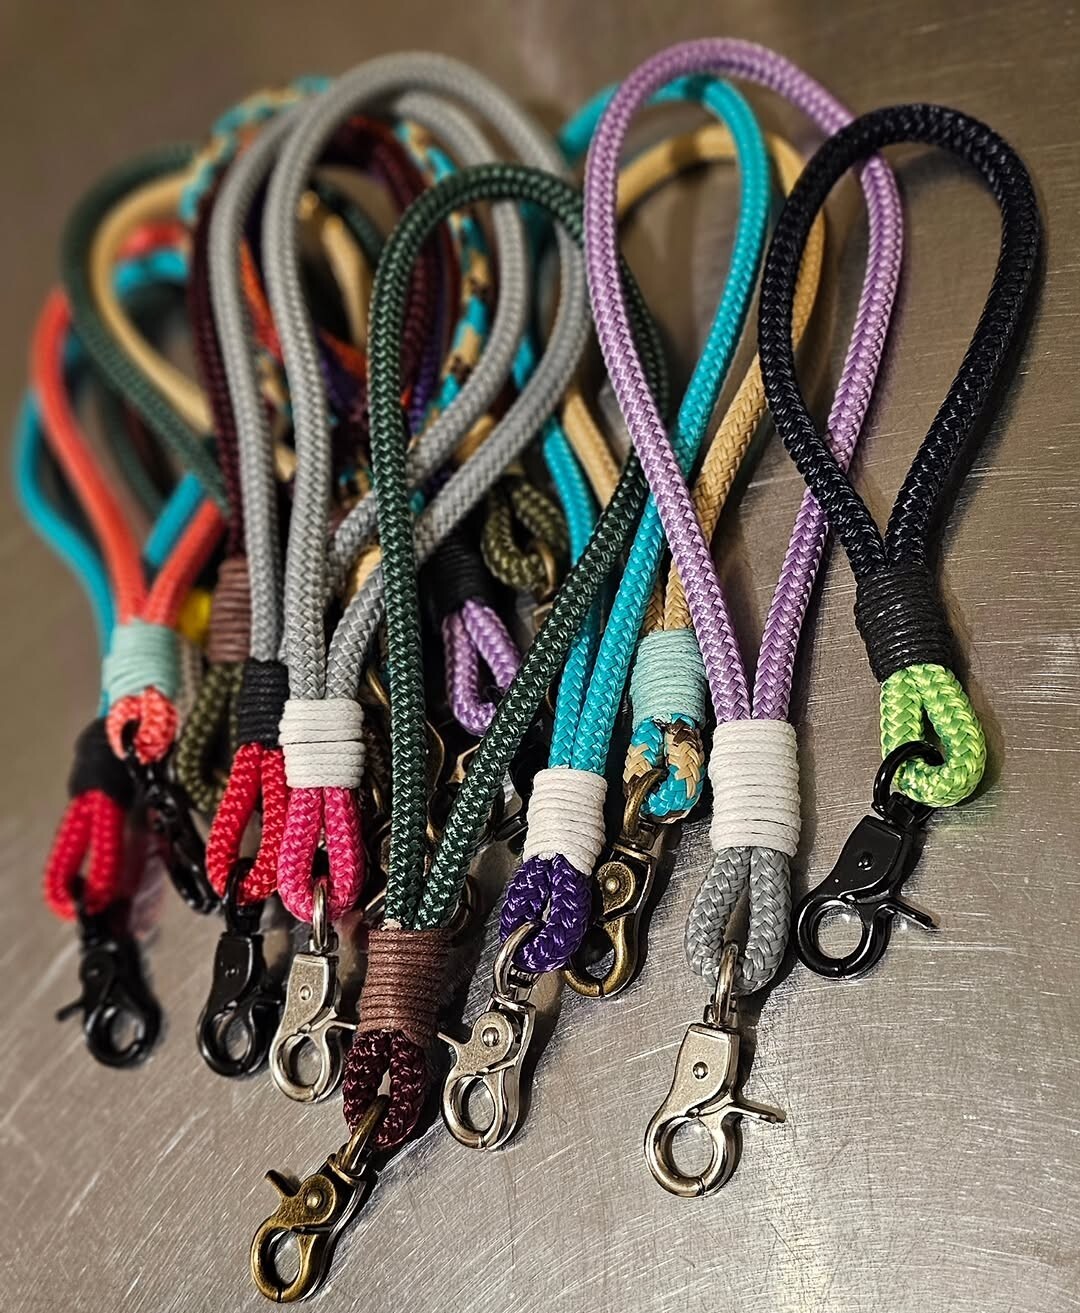
In the crafting world, it is used to make bracelets, lanyards, zipper pulls, keychains, pet accessories, wraps, belts, decorative knots, bag charms, plant hangers, and even larger home décor projects. We have a TON of crafting kits and video or photo tutorials available within the Paracorner.
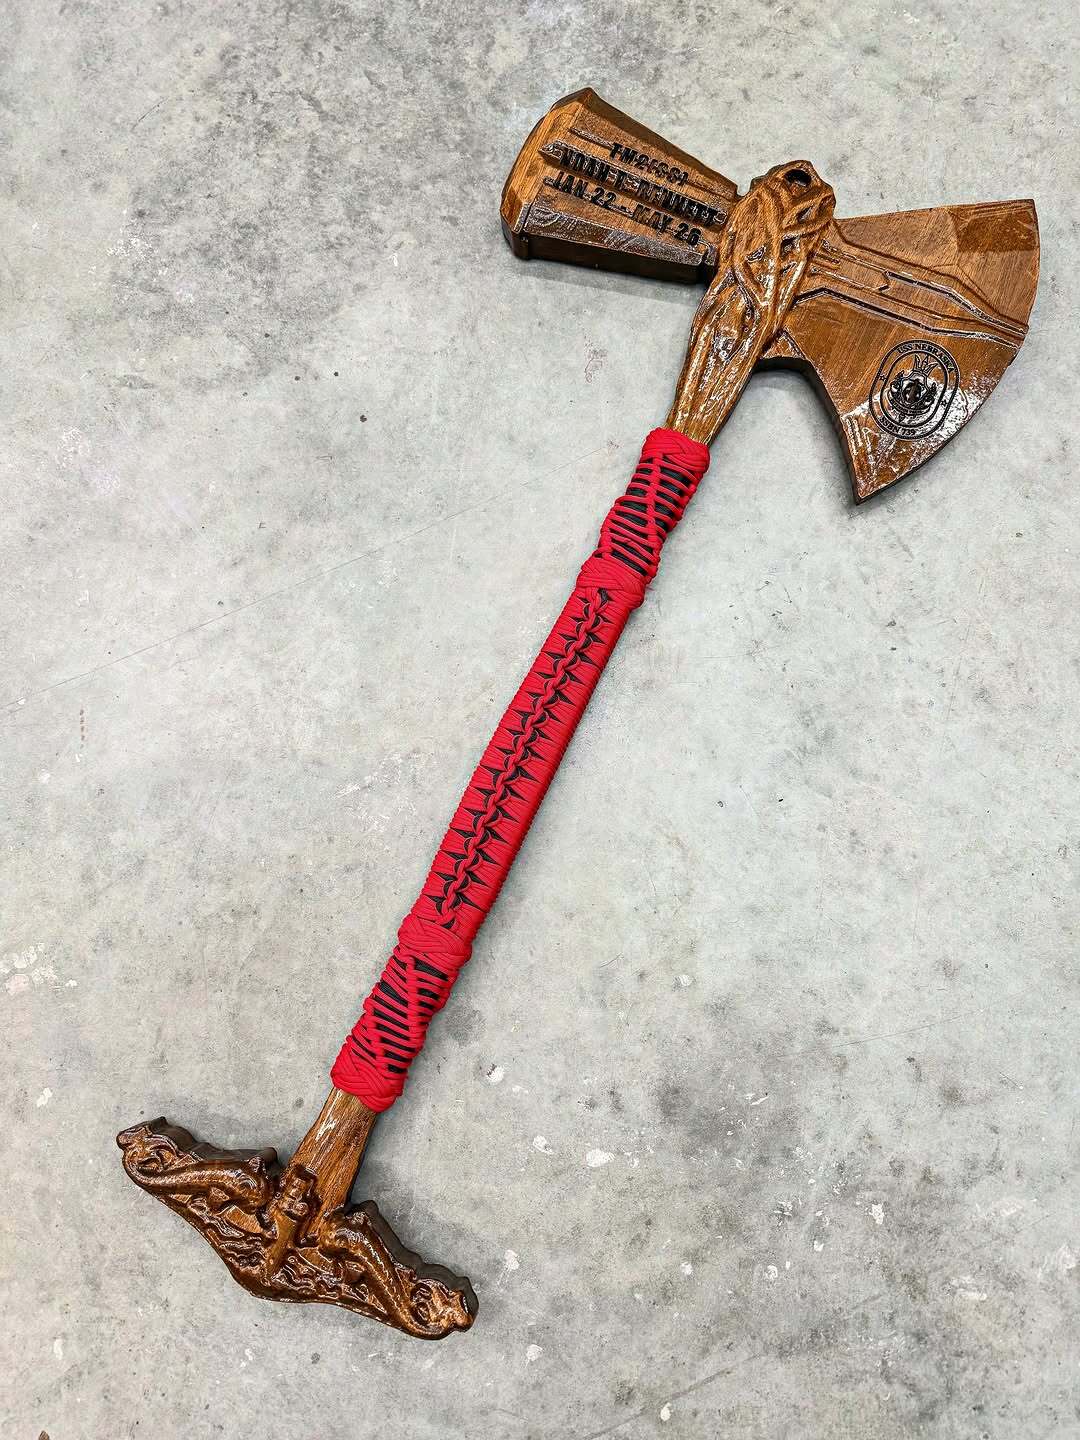
In outdoor and utility settings, people use it to bundle gear, tie down lightweight items, add grip to handles, organize cords, replace broken zipper pulls, secure tarps, and make quick fixes on the go.
A big reason paracord is so popular is that it offers a great balance of strength, flexibility, durability, and style. It is compact, easy to store, comfortable to weave with, and available in enough colors and patterns to match just about any project idea.
It is also beginner-friendly because you can start small. Many people learn with a simple cobra bracelet or keychain before moving into more advanced weaves, multi-color designs, and larger projects. Check out our YouTube Channel, or start with one of our cobra weave bracelet kits and one of these tutorials:
Check out our Photo Tutorial here.
What type of Cord should I use?
One of the biggest beginner questions is which size cord to choose. The answer depends on your project.
550 Paracord
The go-to choice for bracelets, keychains, lanyards, and general crafting. It is versatile, beginner-friendly, and a great place to start.
Micro Cord
A thinner cord that works well for finer detail, smaller projects, accent colors, and lightweight crafting.
Nano Cord
Even smaller than micro cord, great for delicate detail work, smaller knots, beading, and compact projects.
750 Paracord
Thicker and heavier than 550, often chosen when you want a chunkier look or a more substantial finished project.
ParaMax
A large, bold cord option for oversized projects, dramatic textures, and designs where you really want the cord itself to stand out.
There are more varieties than this, but these are our most commonly used cords. For a full list and comparison, check out our Cord Comparison Chart. If you're unsure where to begin, 550 is always a good middle ground with an abundance of resources. Click here to shop by cord type.
Another beginner tip is to pay attention to flexibility. Softer cords are often easier to learn with because they tighten and bend more smoothly, while stiffer cords can feel harder to manage in tight weaves.
You will also notice that some projects call for “coreless” cord or gutted cord. This simply means the inner strands have been removed to make the cord flatter, thinner, or easier to weave through tight areas.
Crafting Basics: What do I need to know?
One of the first things beginners learn is how to finish cut ends neatly. Because nylon paracord can fray, many makers carefully melt the ends with heat to seal them. You can also fuse two ends together in some projects, which is useful when extending Cord or tapering an end so it is easier to thread through a weave or tool. The goal is a clean finish, not a burnt one, so work slowly and use just enough heat.
Good tension is another important beginner skill. Pulling knots consistently tight throughout a project helps your weave stay even and professional-looking. If some sections are loose while others are tight, the finished project can twist or look uneven.
It also helps to get comfortable with tutorials. Video tutorials are great when you want to follow a weave step by step, while photo tutorials are useful when you want to pause and study each stage. As you learn, you will start seeing common terms over and over again. Here are a few beginner terms worth knowing:
Weave
The pattern used to knot or braid the cord.
Core
The strands in the center that give a project structure.
Buckle
The hardware often used to close bracelets and other projects.
Fusing
Joining melted cord ends together.
Fid
A threading tool that helps pull cord through tight spaces.
Working Ends
The loose ends you are actively weaving with.
Sinnet
Another word commonly used for a decorative weave or braid pattern.
Gutted Cord
Paracord with the inner strands removed.
Bracelet sizing is one of the trickiest parts for beginners, but once you understand the basics, it gets much easier. A common rule of thumb is to measure your wrist and add about 1 inch for the buckle and a comfortable fit, depending on the weave and hardware you are using.
Another popular beginner estimate is that every 1 inch of bracelet weave uses about 1 foot of cord. This is not exact for every pattern, but it is a helpful starting point when planning a simple bracelet project. Thicker weaves, multiple colors, and added accents can all increase the amount of cord you need, so when in doubt, give yourself extra.
It is also normal to make mistakes while learning. Most beginners accidentally twist cords, miscount knots, or run out of cord length at least once. The good news is that paracord projects are very forgiving, and practice makes a huge difference quickly.
Tools: What else do I need?
You do not need a huge toolbox to start crafting with paracord, but a few tools can make the process easier.
A fid helps you thread cord through tight spots and compact weaves without fighting the material with your fingers alone.
A knotter's tool is especially handy when you need to loosen, tighten, or work through stubborn knots and snug weaves.
A jig helps hold your project in place and maintain more even tension, which is especially useful for bracelets, straps, and projects where consistent sizing matters.
Sharp scissors or cord cutters are important because clean cuts make melting and finishing ends much easier.
Many crafters also keep a small measuring tape or ruler nearby so they can quickly check cord length, bracelet sizing, and project dimensions while working.
If you are just starting out, scissors, a measuring tape, a lighter, and one good fid will take you a long way. As you learn more patterns, adding a knotter's tool or jig can speed things up and improve your results.
Tips from the Experts:
Choosing colors is one of the most fun parts of any paracord project.
If you want a clean classic look, start with solids. If you want more personality, mix a neutral with a bright accent or explore patterned options for extra visual interest.
Think about where and how the finished piece will be used. High-contrast color combos can make a weave pop, while monochrome palettes create a more subtle style.
The best way to browse our color selection is through here.
When browsing Paracord Planet, it helps to start with your project first, then narrow by cord type, size, color family, and hardware.
If you are brand new, look for beginner-friendly tutorials, bracelet kits, and popular cord categories to simplify your choices. Once you know whether you want a bracelet, keychain, wrap, or decorative knot, finding the right supplies gets a lot easier.
Many paracord crafts are inspired by macramé techniques and traditional knot-tying methods used around the world for generations. If you are looking to build your skills, The Ashley Book of Knots is an excellent beginner-friendly resource filled with practical, decorative, and foundational knots.
One of the best ways to improve quickly is to repeat the same weave a few times in different color combinations. Repetition helps build muscle memory, and changing colors keeps the process fun and creative.
It is also smart to buy a little extra cord when learning. Having additional length gives you room for mistakes, practice knots, and adjustments without needing to restart a project halfway through.
Paracord is one of those hobbies that can stay simple or grow with you. Start with the basics, practice a few foundational techniques, and do not be afraid to pause, rewind, and try again. Before long, you will have a better feel for sizing, tools, cord types, and color combinations, and you will be ready to take on more creative projects with confidence.