How to Tie a Slip Knot
There is some confusion around the term "slip knot." Knot tiers often get this knot confused with various sliding knots such as a midshipman's hitch, which is more accurately classified as a noose.
A true slip knot is "slipped"—a technique that allows the knot to be easily and quickly untied by pulling on the working end (short end). This is perhaps the simplest of "slipped knots" and functions as a highly useful quick-release stopper knot for boating, animal snares, and even crocheting.
Tying a slip knot is really quite simple:
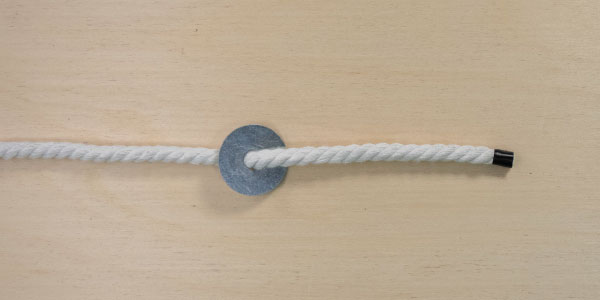
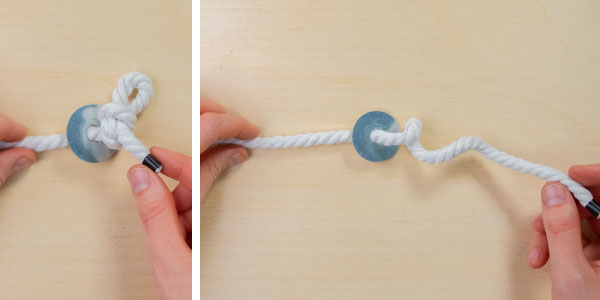
- Begin by passing your rope through your anchor point or grommet. It is important that the diameter of your rope be nearly the size of the anchor hole. If it is not, the rope may slip through, and the knot will fail to succeed as a stopper.
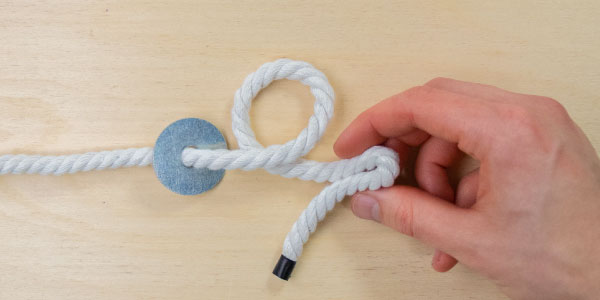
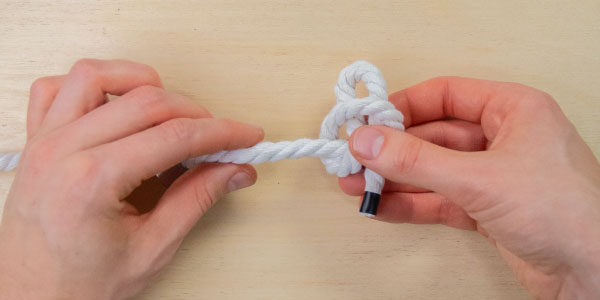
- Make a half twist in the rope so that a simple loop is formed.
- In the working end (the end in the image), make a "bight" or fold.
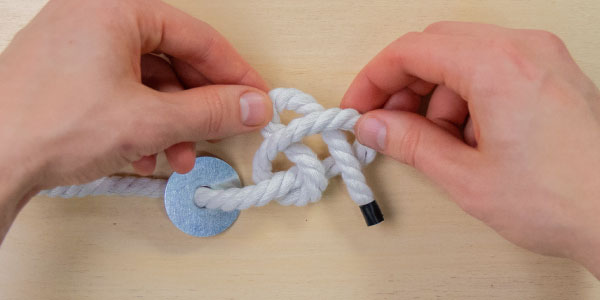
- Pass the bight through the loop formed in step 2. Make sure the end of the rope does not pass through.
- Pull the standing end (long end) of the rope to tighten.
- To untie the knot, simply pull the working end of the rope.

Have you mistakenly called a noose knot a slip knot? It's common mistake.
The simplest of noose knots is actually very similar to the knot shown above. All you have to do to make this into a noose knot is to switch the "standing end" and the "working end" (the end you can see in the pictures). The resulting loop can be cinched around anything for a quick, but rather unsecure hold.
If you are still confused as to the difference between these two knots, we cover how to tie them in this video.